I can’t believe it’s March already. Things have been busy with work so I’ve been out in the bush a lot, but I have also ticked off some milestones with the build.
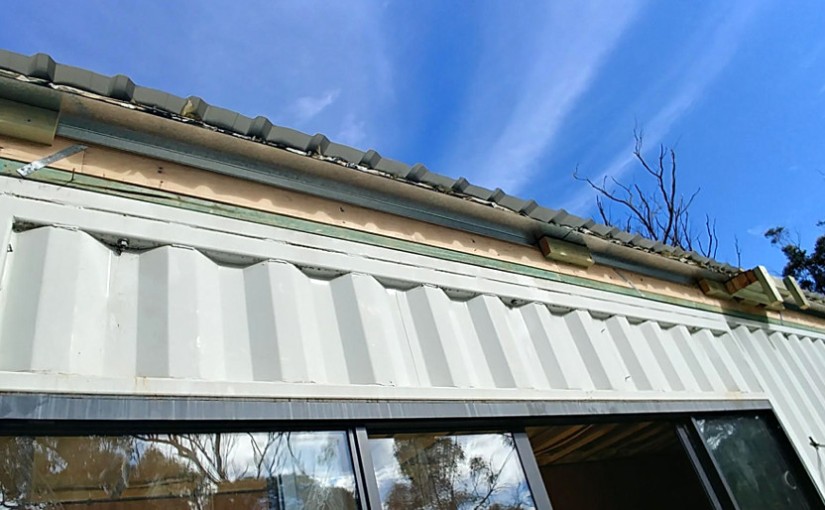
The roof is on. I don’t have any good photos of it because it’s flat and six meters up, but it’s a BAL Flame Zone approved roof with approximately ten million layers in it so that in a bushfire no cheeky embers get through it to meet up with the 2mm corten steel container. It sounds a bit like overkill doesn’t it, when the containers already have a steel roof. If the embers did fight their way in to meet the steel container they’d just burn out in despair, having made the journey for nothing. Anyway, it complies with bushfire regulations and I’m sure the birds appreciate the lovely sandstone-coloured Colorbond roof as they fly over it.
The pics (below and above) show the roof edge and some of it’s layers, you’ll have to visualise the internal complexity of it. It doesn’t look neat yet because the walls still have to be clad and will meet up with the roofline with no eaves or overhang.
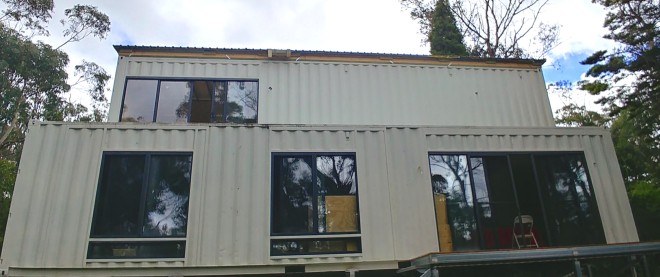 The house is now a few inches taller with its roof on. The roof is making a big difference to the inside temperature, and once the upstairs deck is on the house will be much more thermally efficient.
The roof of a shipping container can’t take much weight (about 360kg I think) so now the roof is structural too and can be walked on. In fact I could probably hold a dance party on it if I wanted to. In terms of specs, one of the Colorbond steel roof systems for BAL FZ was used that includes plywoood. Yes plywood, obviously better than steel in a bushfire of course – best not to think about that too much, it was the cheapest option.
I bought my Ikea kitchen between Christmas and New Year as planned. I built the first cabinet of drawers and it went together easily and squarely so that was a pleasant surprise. Another surprise was that Ikea delivers all the way to the upper Blue Mountains for only $80 so that saved me a few trips in the ute and someone else carried all the boxes in for me.
I’ve decided the kitchen takes up less space in its current flat-pack state for now, and I will build the rest of it once the plasterboard ceiling is in so then I can attach each cabinet in place as I build it. The cabinets would be cumbersome to have to move out of the way while the ceilings are done and other work goes on, so the kitchen is sitting around as 77 packages in my office and bedroom.
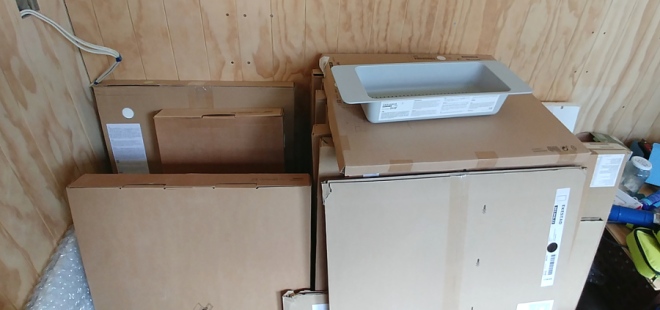 A small portion of the 77 boxes that my kitchen is occupying.
The most exciting progress to date is my LOVELY interior flight of stairs. I can now walk upstairs instead of climbing a ladder. It was tricky to find someone to build them – the stairs have a quarter turn at each end and stair companies generally weren’t interested due to the custom design and having to travel too far to install them. A local team of carpenters took them on eventually, the same guys who built my roof and are about to start the upstairs deck. They did a fabulous job.
The stairs start in the kitchen, down near the bathroom end, which a few people have politely suggested might be the wrong way around. There are a few reasons for my choice; the first is that they protrude past the kitchen into the lounge area and running in the current direction they don’t take up any lounge area as they protrude high up over your head. If they ran the other way they’d take up precious floor space (and run into the fireplace hearth). Also, the fridge will sit underneath them along with some other kitchen cabinetry and this way around the fridge is not right next to the bathroom. There’ll be a European laundry near the bathroom on the other side of the kitchen, in a full height cabinet, and having the low stairs down that end also keeps the corridor feeling more open.
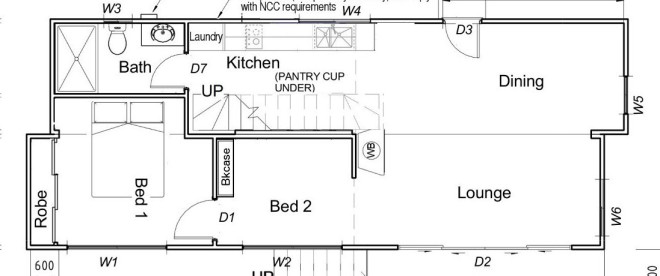 Floor plan showing the stairs in the kitchen that run from left to right, upwards.
Painting the stairs was fun. The treads and risers are made of leftover plywood from my wall linings, reversed so the v-groove is hidden and it’s the back of the plywood board showing; the back is lower grade quality, with minor cracks and filler and some wood knots. I made up a custom coloured stain and it started to look great on the first few stairs, really rustic. Then I hit some rougher ply treads and they took the stain badly and looked like zebra stripes. I was going to paint the risers in a copper colour, but I decided to try painting some treads in copper instead.
I love the look of them. I ended up keeping the treads random, some of them copper and some with the wood stain as it looks more interesting. Painting all the treads copper would have been too much, while alternating copper and wood treads would be too predictable for my liking. I went random but with odd numbers of each, which is a thing in Asian art to maintain balance – if you paint clumps of leaves in Chinese brush painting it’s always in odd numbers, 3’s and 5’s for harmony. And I went random partly because I could, it’s nice to have a house you own and can paint however you like.
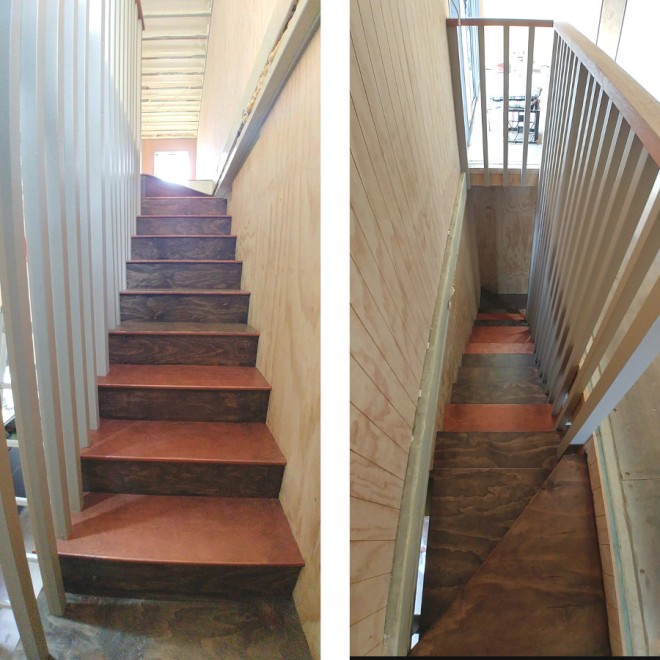 My new stairs, from below (left) and above (right). Each tread has a line of copper paint on the nosing, to tie together the timber and copper look. The gap of light showing at the top will be covered by wall trim around the steel where the containers meet up. The stairs are narrow, they had to be as they’re part of the kitchen, but they’re comfy enough to walk up carrying a tray of drinks – highly necessary for when the main upstairs deck is finished.
I used Dulux copper effect paint, then I sprayed some concentrated vinegar on the outside edges of the stairs to oxidise and darken the copper a little so the middle of each tread is a slightly brighter copper. You can buy a patina chemical to oxidise the paint but it goes green right away and I like the more subtle brown tones you get from vinegar. Then I put 3 coats of water-based polyurethane for floors over them.
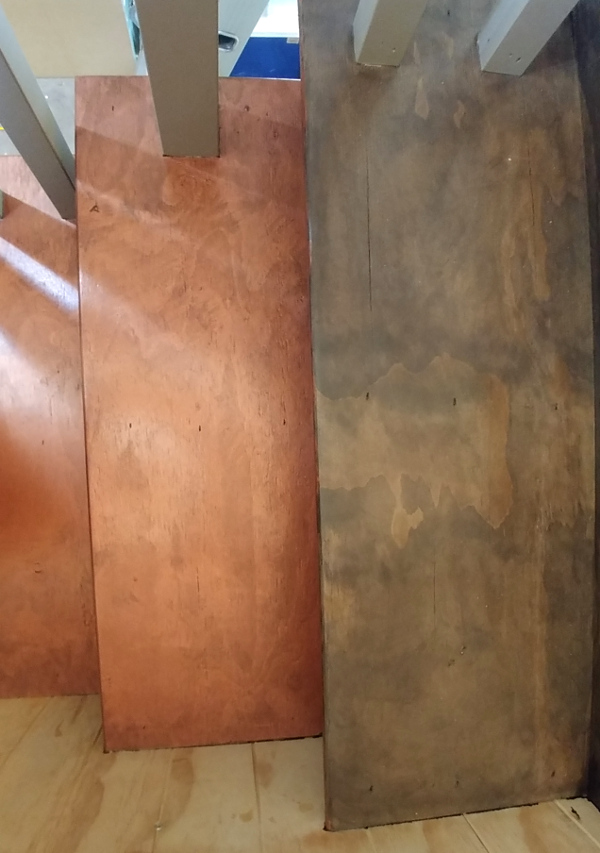
A close up of the stair treads; the edges of the copper-look ones are slightly darker where I oxidised them, to give them a worn in look.
I’m a slightly frustrated artist who hasn’t painted for a long time now (due to not having a studio space, or time) so I think I took that out on my stairs, they might be a bit too arty for some. If so, you ain’t seen nothin yet. There will not be a flat-white wall or ceiling in this entire house. I’m still deciding what colour to paint the ply wall behind the stairs.
The upstairs deck is the next project and will properly waterproof the join between the 3 containers forevermore, no more drips. That will be followed by the plasterboard on the rest of the ceilings. Then I can put in the kitchen and have that and the bathroom plumbed in all at once, paint all the walls and have the power-points and light fittings all installed. I’m ordering the copper sheet for my shower recess this week. Things are moving right along.
